
The plumbing is only one aspect to consider when doing a kitchen renovation, but it is a necessary component to assist with the layout and design. These kitchen renovation plumbing tips are must knows to ensure you have functional space to cook and entertain in.

What may look super easy on TV, is not always as simple when working out the best layout and including all the features needed to make your kitchen as functional as possible.
This post offers plumbing tips to consider for your kitchen, without the headaches of poor design or surprises you can’t fix once the kitchen is renovated.
A lot of home owners take on the role as project manager for their own kitchen renovations, and often, they really have no clue on when each trade is required or the correct sequence of events to getting the renovation complete.
If you do decide to take on the role of project manager and designer for your kitchen renovation, here are some considerations for the plumbing.
9 Kitchen Renovation Plumbing Tips
1. Don’t change the plumbing
If you want to save money, keep the plumbing in the same area. With the sink waste and water services left in the same position, you can save on labour costs to chaise or saw cut the concrete to change the drainage. Water services are run in the walls, so these can be easily changed during rough in. But generally, keeping the sink in the same position will prevent a budget blow out and solve plumbing headaches.

Demolition of a kitchen usually starts with the plumber isolating the water and waste services to the existing sink and appliances. If the kitchen is to be a new design, the plumber will need to come back after demolition to rough in the services to suit the new kitchen layout. The plumber doesn’t come back to site until all the cabinetry is in, the sink has been cut into the benchtop and sink holes have been drilled into the bench/sink, ready for the tap installation.
2. Place the dishwasher next to the sink
The dishwasher should always get installed next to the sink under the drainer side of the sink. For some layouts, this may not be possible, but it’s the ideal installation to ensure an easy installation for the hoses and practicality for when you load dirty dishes from the sink to the dishwasher. Extending the water connections and hoses leaves room for pipe bursts, plus they incur extra costs to install.

3. Measure twice
Measure your appliances twice for your new kitchen cabinetry. Appliance retailers always say that dishwashers are a standard size which majority are, but there are subtle differences in a lot of models that can put a spanner in the works if the space allocated doesn’t fit your chosen dishwasher. Measure twice and you can’t go wrong.
4. Choose the right sink
Choosing the right sink will depend on the look and functionality of your kitchen. It’s best to have a double bowl sink for double duty; one bowl for washing and rinsing and another for draining or available for use when the other bowl is occupied.
If you choose to have an additional filtered water tap and decide for these taps to be installed into the kitchen sink, ensure there is enough landing for the 35-40mm hole so your mixer tap can be installed. Alternatively, these taps can be installed in the benchtop but your cabinet maker will need to know the size of your mixer tap and location where the holes should be positioned to the sink.

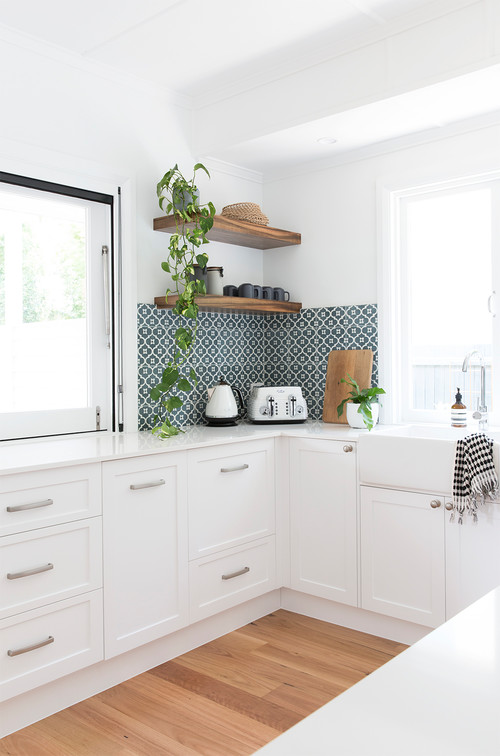
5. Think about the best sink position
Sink position is a matter of opinion. A sink in the middle of an island bench can make the bench look cluttered but it may be where the existing plumbing is. A sink near the window allows for natural light and can be less cumbersome, allowing the island bench to be clear.

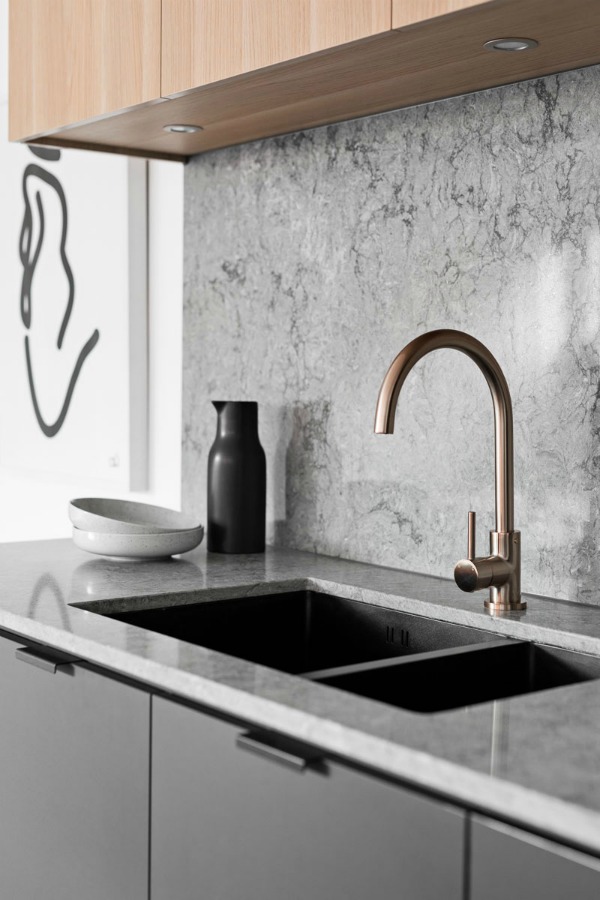
6. The biggest mixer may not be the best mixer
Choose a standard middle of the range sink mixer. Unless you love the look of a commercial veggie mixer and have the right bench support to hold the weight of such a mixer, there are many retractable kitchen mixers on the market which are affordable and won’t look so industrial. A standard kitchen mixer is easier to replace when it has done it’s time too.

7. Allow enough water connections
If your fridge has a water filter and ice maker, ensure it is placed in an area where the water from the sink can be run to the fridge. This is why having a sink in the middle of an island bench can create a problem as the pipes can’t run around the kitchen.
Other areas to consider water points for are dishwashers, filtered water taps and butler’s pantry if there is a sink in there.
8. Consider if a food waste disposal system is a must have
A food waste disposal requires a larger sink drain outlet – which means you can be limited on the type of sink.
They were an appliance to have in the kitchen, but often when they breakdown, they can’t always be repaired and need to be replaced. Consider having a compost in the garden for food scraps and be mindful of what is washed down the kitchen sink.
A food waste disposal can also make kitchens smell if they aren’t maintained or used correctly. We took many disposal systems out than put back in due to the maintenance and smell caused from blockages.
9. Get a stop tap under the kitchen sink
Consider getting the plumber to install a stop tap under the sink so that the water to the kitchen can be isolated at any time if needed. This is convenient if you have a flexi hose burst or leak from the dishwasher and need to turn the water off quickly.


