I love my house smelling pleasant as soon as a guest walks through the door. But even more so, I want my bathroom – especially my toilet to smell good naturally, without any whiffs of bad odours.
Let’s be honest, the toilet is going to get a run of bad smells due to its function and use. But there are ways to eliminate bad smells and present a pleasant smelling bathroom upon entry.
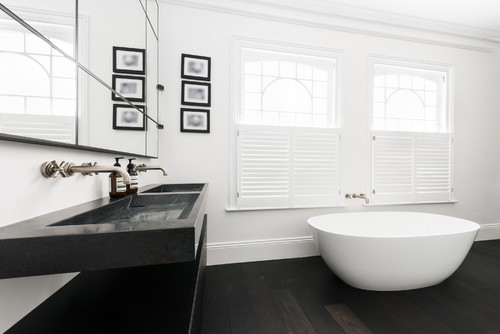
Here are 10 ways to make your toilet smell good naturally.
1. Open the window
Most bathrooms and separate toilets will have a window. Open that window to let fresh air IN. It’s amazing what smells can evaporate with the presence of new air.
2. Check all seals around the toilet
If you have a back to wall toilet pan or concealed waste toilet, you won’t be able to check the rubber pan seal. But if you can see the toilet pan collar where the toilet connects through the wall or floor, check the black rubber seal hasn’t deteriorated. The rubber flap prevents a manner of sewer gases. If it’s looking worse for wear or you can smell a bad smell the moment you bend to inspect, this needs to be replaced or re-sealed asap. It will mostly likely fix all your bad toilet smells.
3. Deodorize the grout and floor around toilet pan
One of the common reasons a toilet will smell is due to miss aims. Pee, when left on the floor to self-dry will make the floor smell.
It can be difficult to get this smell out of the grout if you have a tiled floor as grout is porous. I’ve seen all sorts of weird and wacky hints on Facebook on how to get the smell out of the floor.
Honestly, a more natural way to eliminate the smell from the floor is with a dusting of Bi-Carb Soda. Add a few drops of Lemon or Eucalyptus Essential oil and leave it sit for half an hour. The Bi-Carb will absorb the smells. For a deep clean, place vinegar in a spray bottle and spray the floor. This will create a bubble reaction. Give the floor a good scrub and the floor will smell fresh afterwards.
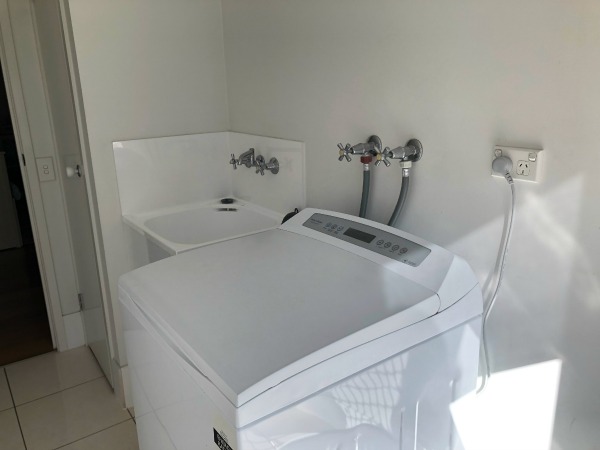
4. Clean the toilet and remove the toilet seat
A clean toilet does wonders in eliminating smells. Remove the toilet seat (if you can) to give a thorough clean and eliminate any odours from uncontrolled hose sprays.
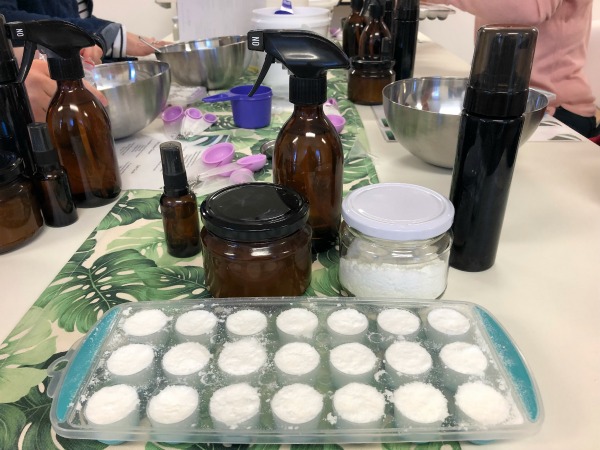
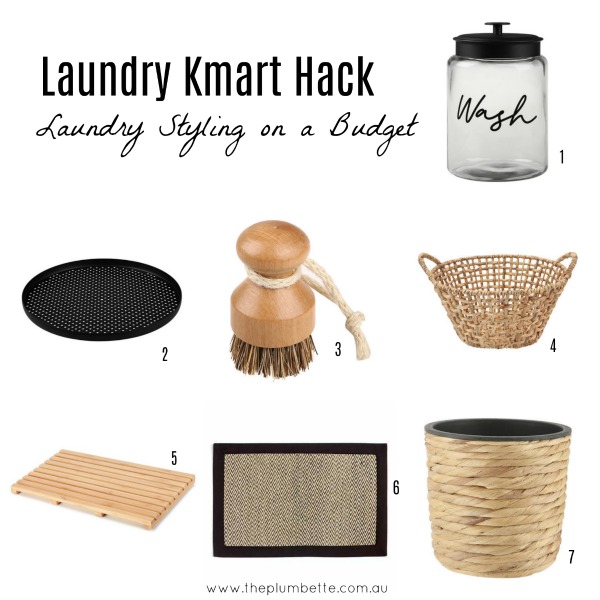
I made toilet pod fizzies which I drop into the toilet bowl and it gives the bowl a brilliant clean, while emitting a fresh smell. I bought a small jar from Kmart to keep my fizzies on display, ready for when needed.
5. Clean the walls, doors and handles
I think this tip is self-explanatory, but cleaning all surfaces in the toilet room will ensure nothing offensive can produce a smell in the toilet.
6. Give the inner cistern a clean out
If the lid to your external toilet cistern can be easily removed, you can turn the water off, flush the toilet a few times to empty the water from the toilet cistern and give the internal cistern a quick clean.
I don’t recommend pouring cleaners or vinegar into your cistern as this can soften the rubber seals and cause the cistern to leak water into the toilet pan. I have seen some toilet cisterns accumulate with sediment from stagnant water, which can cause a musty smell. This is more likely to happen during summer if the cistern sits on a wall that faces the sun, and when the house is vacant for holidays.
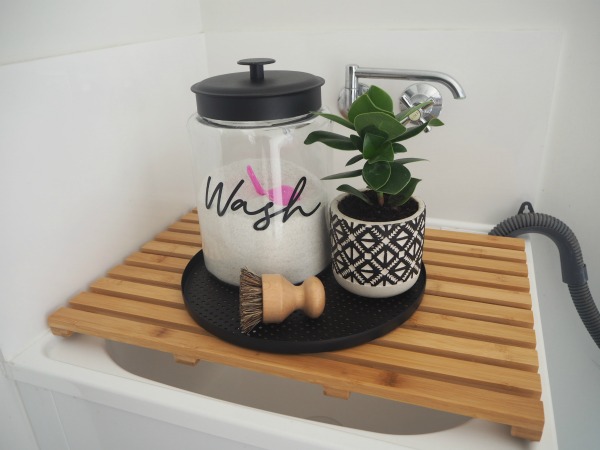
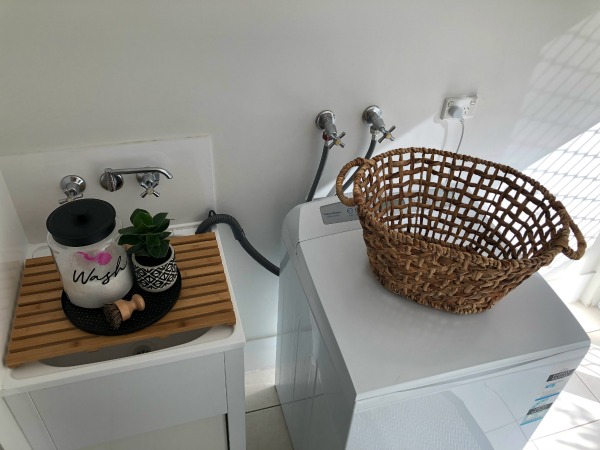
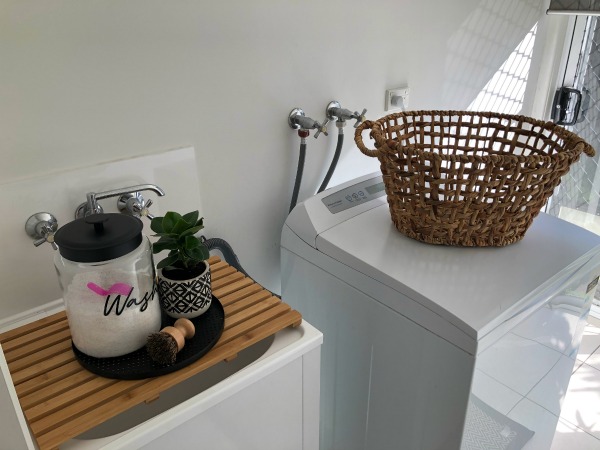
7. Create your own Air Freshener Spray
Some air freshener sprays smell worse than the offending smell after a number 2. Make your own spray with natural ingredients to freshen the room. Tip 1 will also help expel any bad odours from the bathroom.

8. Make your own diffuser
I have bought reed diffusers with a particular scent, and when I’ve brought them home, I’ve had to get rid of them as they have been too overpowering.
This is one of the reasons why I love using essential oils. I can diffuse my own scents which won’t give me a headache.
In all my bathrooms, I have a bowl of Himalayan Pink Rock Salt in bowls, with a few drops of essential oil. I got this tip from Katrina Chambers blog. This has ensured a pleasant aroma in the bathrooms. I use the salt in a bath when it needs to be replaced with a different scent.
9. Dab a drop of essential oil inside toilet rolls
You can make your own scented toilet rolls by dabbing essential oil into the inner cardboard roll of the toilet paper. This is one of my favourite tricks to help my bathroom smell good naturally. I usually use Geranium or Lavender.
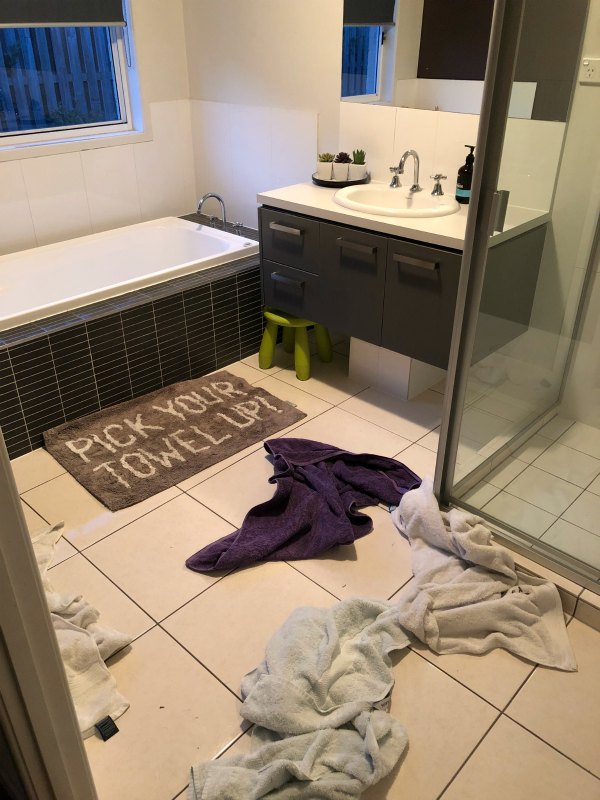
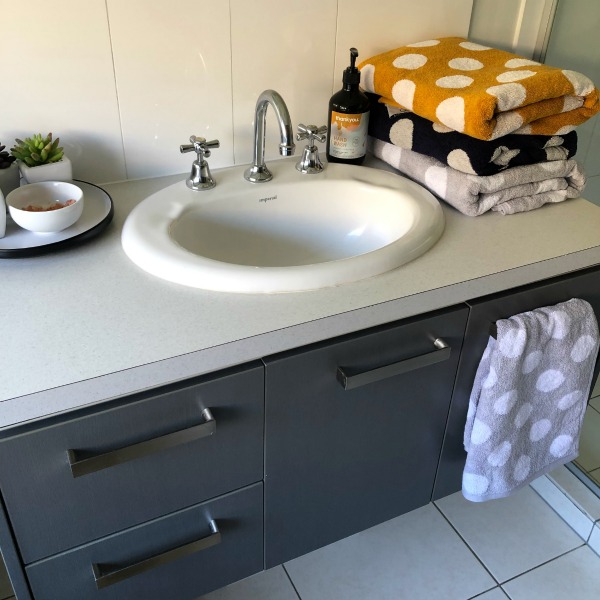
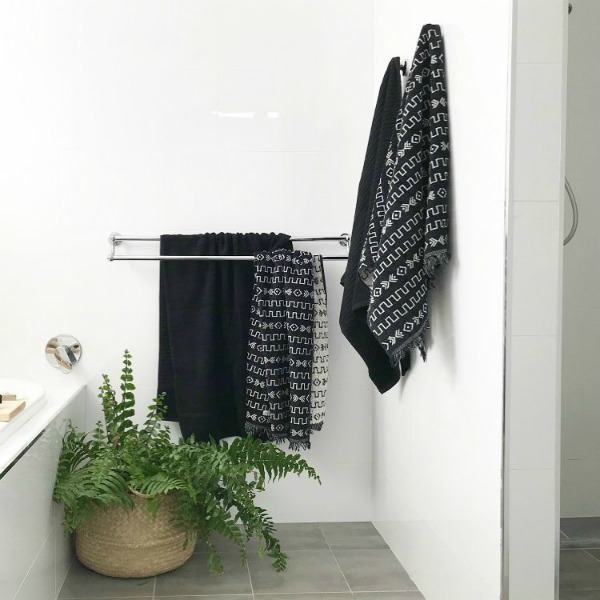
10. Change towels regularly and get rid of the toilet mat
If you have a powder room, refresh the hand towel regularly. Wet towels can emit a smell.
And toilet mats may catch drips, but they are notorious for harboring smells. Don’t use them. They may be pleasant for your feet when it’s cold, but who knows what bacteria you spread on the floors of your house when you walk out of the toilet. Most toilets smell because of a toilet mat. If you must use one, ensure it is washed regularly.