The Australian Waterproofing Standards for bathrooms is essential knowledge when planning your renovation.
Faulty waterproofing is one of the top three building defects in Australia so it’s important to understand this crucial foundation for your bathroom.
The cost of inadequate waterproofing
Inadequate waterproofing or poor installation has seen premature deterioration of a room which should last more than a decade.
Structural damage to your home and an invasion of termites can also be worst case scenarios when waterproofing has not been installed correctly.
If you engage with a licensed builder for your bathroom renovation, request a compliance certificate after installation of the waterproofing.
Owner managed bathroom renovations should be aware of what the Australian Waterproofing Standards are and ensure the installation is compliant.
This post will outline the essential information you need to know about waterproofing and the signs where your bathroom may not be meeting those standards.
Signs your renovated bathroom hasn’t been waterproofed correctly
The common signs of a failed waterproofing membrane include
- Constant water seepage through the grout
- Squelching of tiles on the bathroom floor when stepped on
- Water runs from the hob of the shower enclosure
- Black mould growth on adjacent plasterboard walls
- Water marks on walls and timber rot
- Moisture or water damage to structures or rooms underneath the bathroom
- Termites
- Structural damage to beams and timber flooring beneath the tiled floor (for second storey houses)
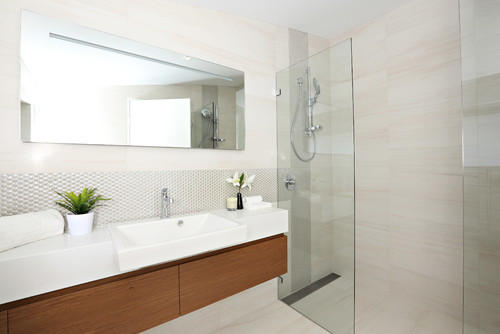
What is Waterproofing?
Waterproofing is a barrier than prevents water from travelling outside a wet room’s walls and floors.
A membrane is applied to clean and dry floors and walls in the bathroom before the tiling. This prevents moisture from escaping the room which can cause structural damage to the home if not contained.
Waterproofing must be installed to meet the Building Code of Australia and Australian Standards AS3740-2010 Waterproofing of wet areas in residential buildings.
Who can install waterproofing in Australia?
If you reside in Queensland or New South Wales, waterproofing must be installed by a licensed waterproofing technician. Specifically for QLD, if the work is to be more than $3300, you must hold a license to install it. Before you hire someone, check they have the right license and insurance to do the waterproofing.
You can install waterproofing yourself if you live elsewhere in Australia (still check with your state and local laws to be sure), however it is recommended to hire an experienced waterproofer who can guarantee the installation.
Ensure you receive a compliance certificate by the waterproof installer to assure the waterproofing has been installed to Australian Standard AS 3740.
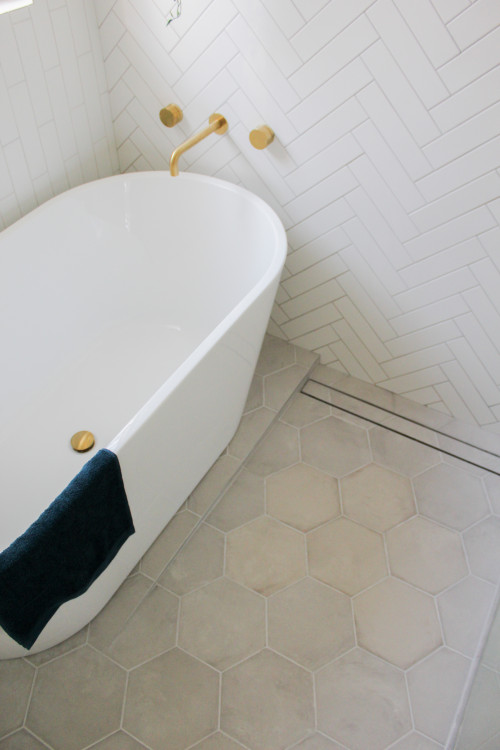
Australian Waterproofing Standards Measurements for Bathrooms
The Australian Standard Measurements for waterproofing bathrooms are as follows
- Entire floor of a bathroom floor should be waterproofed if on a second story or higher
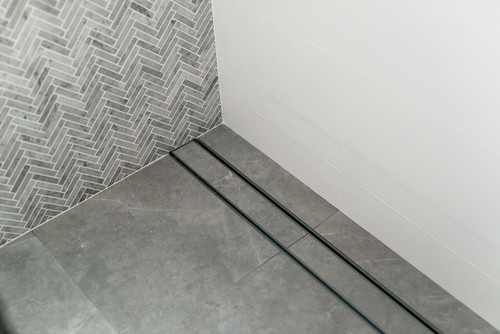
- Full floor in a shower must be waterproofed. If it’s a wet room bathroom (open shower) the full floor will need to be waterproofed
- Wet bathroom walls need to be waterproofed to min 1500mm radius
- Hob onto bathroom floor should be waterproofed min 100mm
- Walls encasing a bathroom should be waterproofed minimum 150mm
- Two walls which meet at the vertical angle for a corner shower must be waterproofed to min 1800mm
A licensed waterproof professional will know these standards and ensure the application is installed to meet the minimum requirements.
But if you reside outside of QLD or NSW and decide to install the waterproofing membrane yourself, these are the minimum requirements you need to know.
What can undermine a waterproofing installation?
A waterproof membrane can be compromised if
- Correct sequence of installation hasn’t been followed
- Membrane hasn’t been allowed to cure for enough time before tiles are laid (usually around 5 days or instructions detailed by manufacturer)
- Punctures from holes drilled into the walls for fixture installation or shower enclosure
- Poor quality product installed
- Inadequate silicone application
- Loose flanges around wall penetrations
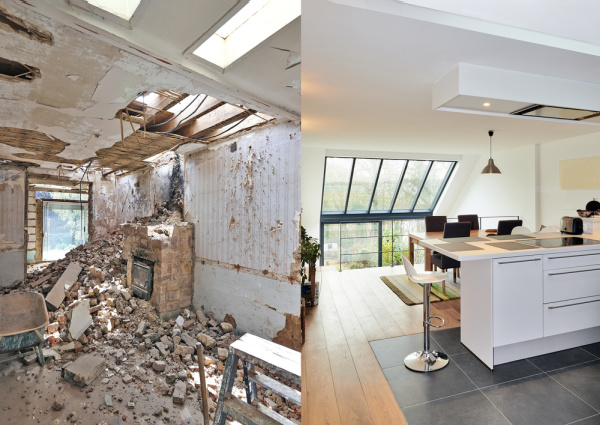
How to fix an inadequate waterproof membrane
There are a few options to fix an inadequate waterproof membrane.
Often the first option is to demolish the bathroom and start from scratch again. Ensure the second time around the application of the waterproof membrane is done by a qualified professional.
The second option, which is only a temporary fix, is an epoxy treatment to the tiled floor. It’s a protective barrier to stop water from seeping through the bathroom floors and walls. Engage with an experienced installer for this type of application to ensure it’s the best solution for your bathroom.
Alternatively, in some cases if the waterproofer can ascertain the type of waterproofing product used and can match it, sections of the bathroom may be able to be fixed without a full demolition.
It’s best to get a professional opinion though for the rectification.
Essentially, waterproofing is not something to be skimped on in a bathroom renovation, but it’s a common fault and can be costly to fix.
If you want your newly renovated bathroom to be around for a long time – don’t compromise on the waterproofing. Do it right the first time and your future self (and any new home owners) will thank you for it.
Other Posts
Disclaimer: The Plumbette does not accept any legal responsibility for any loss incurred as a result of reliance upon this post. Engage with a licensed waterproof technician to ensure correct measurements and applications are installed as per your local, state and federal laws.